FloorPlanner - 2D and 3D Floor Design Tool
A browser-based 2D and 3D floor plan designer with a drag-and-drop furniture library, real-time 3D preview, measuring tools, undo/redo history and one-click export to PNG, SVG and JSON.
#Introduction
Welcome to Floor Planner — a complete, professional floor planning tool that runs entirely inside the browser. Sketch walls, create rooms, drop in doors, windows, stairs and over 20 categories of furniture, then switch to the 3D view to explore your design in real time. Everything is stored locally in your browser — no server, no database, no sign-up.
Because the application is 100% static, it can be hosted on any web server, run from a local folder, or be embedded into an existing website.
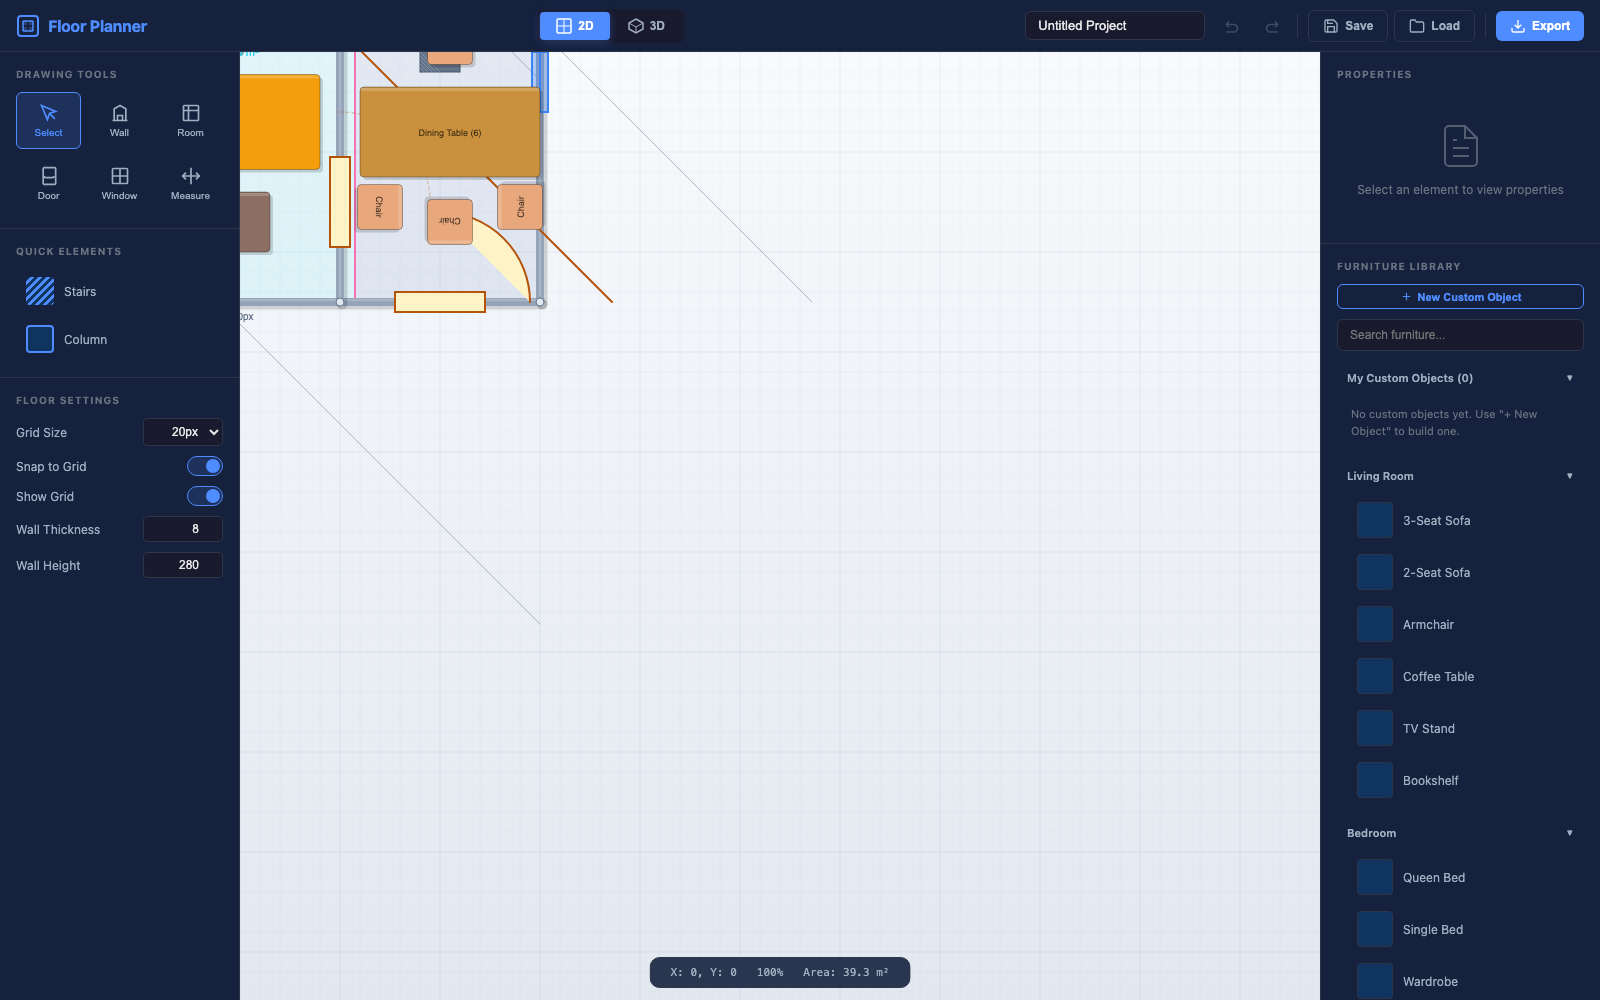
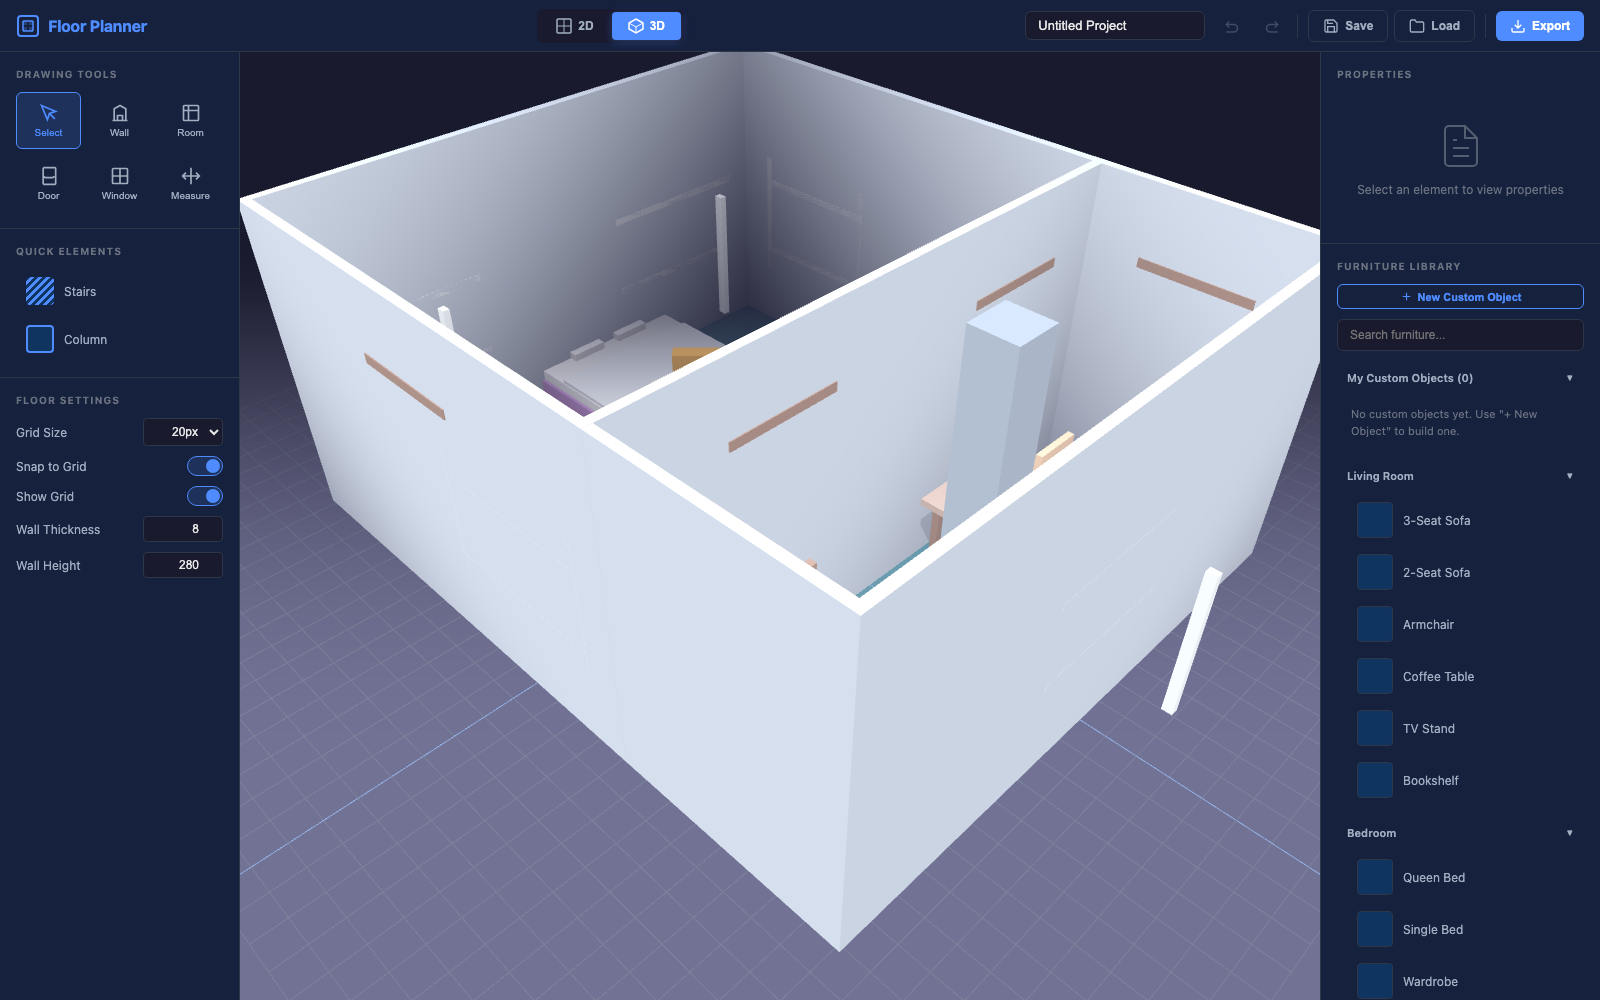
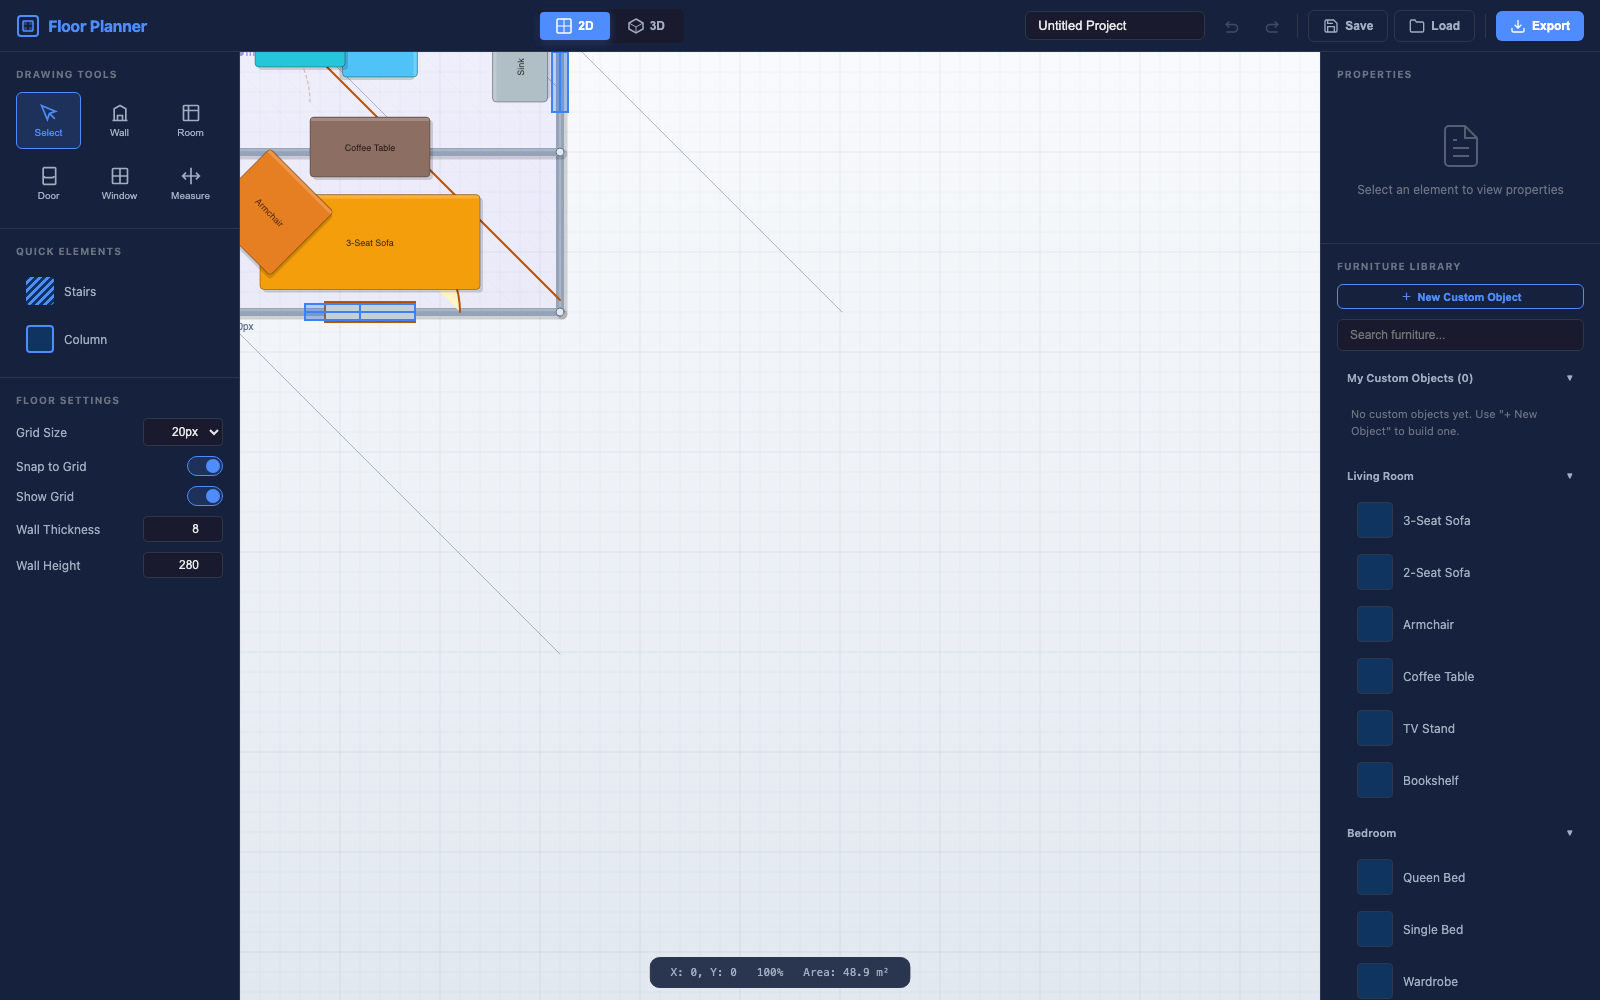
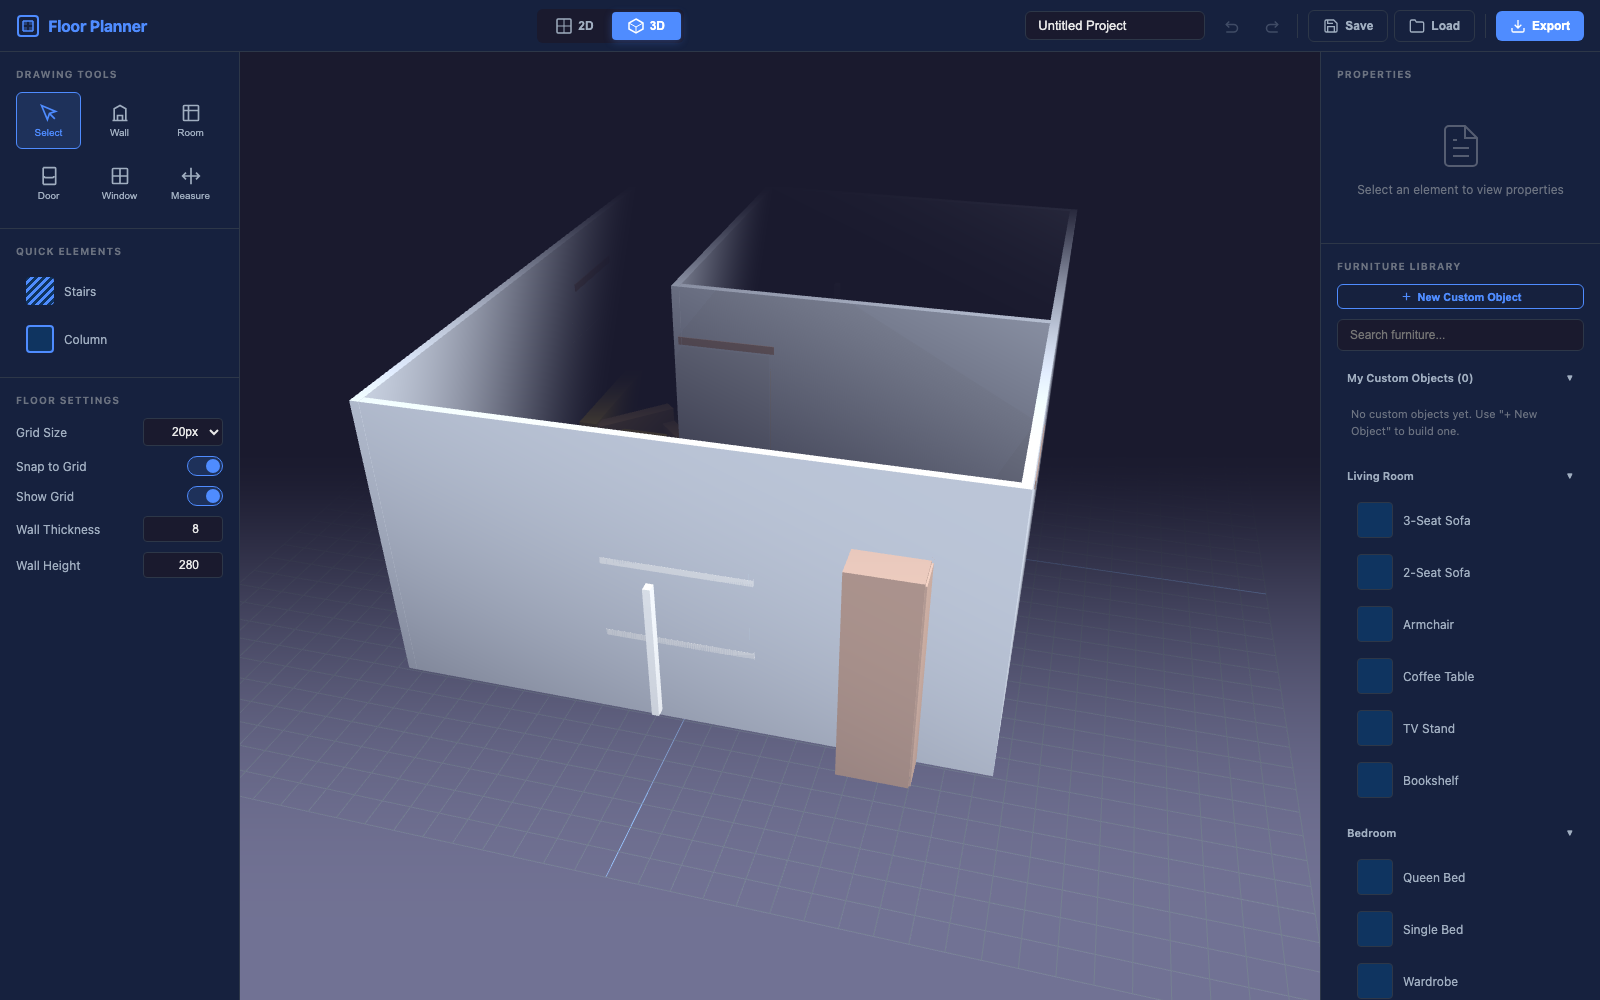
#Features
Vector 2D Canvas
Crisp, resolution-independent 2D editor with a smart grid, snapping and dynamic dimension read-outs.
Walls, Rooms & Openings
Draw walls, define rooms, cut doors and windows straight into walls with adjustable sizes.
Furniture Library
20+ furniture types — beds, sofas, tables, kitchens, bathrooms, stairs and columns — drag & drop.
Custom Object Builder
Stack coloured boxes, cylinders & spheres to build your own 3D objects, preview live, and save to your library.
Real-time 3D
Three.js-powered 3D scene auto-generated from your plan. Orbit, zoom and pan freely.
Measurement Tools
Measure tool with live length, plus live wall length and room area totals in the header.
Undo / Redo
Full clipboard and undo/redo history so you can experiment without fear.
Export Anywhere
Export plans as PNG, scalable SVG, WebGL-backed 3D PNG or a JSON project file.
Auto-Save
Your design is auto-saved to localStorage every 5 seconds and restored on open.
No Backend
Zero dependencies on your server — works from any static host or even a local file server.
#File Structure
floor-planner/
├── index.html                  # Main application (single page)
├── css/
│   └── styles.css              # Dark professional UI theme
├── js/
│   ├── elements.js             # Element defaults + furniture definitions
│   ├── history.js              # Undo / redo manager
│   ├── editor2d.js             # 2D canvas editor (tools, snapping, hit-testing)
│   ├── editor3d.js             # Three.js 3D scene builder + orbit controls
│   ├── app.js                  # Main controller: tools, properties, export, demo scenes
│   └── vendor/                 # Three.js r128 + OrbitControls (included, MIT)
├── assets/
│   └── preview/                # Promotional screenshots + thumbnails
├── Documentation/              # This documentation
Three.js r128 and its OrbitControls module are bundled locally in js/vendor/, so the
application works completely offline — no CDN requests are made at runtime.
#Requirements
| Web Server | Any static host (Apache, Nginx, cPanel/Hosting, GitHub Pages, Vercel, Netlify, local) |
| Browser | Chrome, Edge, Firefox, Safari (recent versions) |
| JavaScript | Enabled, ES2017+ (all modern browsers) |
| Internet | None — all libraries, including Three.js, are bundled locally |
| Backend / Database | Not required — client side only |
#Local Installation
Unzip floor-planner.zip on your computer. You can run the app two ways:
Option A — Python local server (recommended)
Open a terminal inside the floor-planner/ folder and run:
cd floor-planner
python3 -m http.server 8080
Open http://localhost:8080 in your browser.
Option B — Any static server
Use any tool you already have, for example:
# Node
npx serve .
# PHP
php -S localhost:8080file:// may work for viewing, but a local HTTP
server guarantees the cleanest behaviour for exports, 3D screenshots and auto-save.
#Hosting a Live Demo
- Upload the contents of the
floor-planner/folder to your web host (cPanelpublic_html, an Nginx/Apache docroot, GitHub Pages, Vercel or Netlify). - Open
your-domain.com/index.html. - Done — no configuration files or database migrations needed.
You can also point visitors straight at a demo scene:
your-domain.com/index.html?demo=house      # Modern house example
your-domain.com/index.html?demo=office     # Office layout example
your-domain.com/index.html?demo=apartment  # Apartment example
your-domain.com/index.html?demo=house&view=3d # Open straight into 3D#Getting Started
Try the demo
Open the app and load a ready-made scene from the File menu, or append a demo URL parameter (see the previous section).
Typical workflow
- Draw the outline — select the Wall tool and click point-to-point to trace the outer walls.
- Add rooms — pick the Room tool and drag a rectangle inside the walls, then fine-tune dimensions in the properties panel.
- Cut openings — select the Door or Window tool and click on a wall to insert an opening.
- Furnish — drag furniture items from the right-hand library onto the plan.
- Style — select any element and edit color, size, rotation and height.
- View in 3D — click the 3D button in the header and orbit around the result.
- Export — use the Export menu to save PNG / SVG / JSON.
#Tools Guide
Select tool (V)
Click an element to select it and show its properties in the right sidebar. Drag to move, use arrow keys to nudge, [/] to rotate. Wall endpoints get draggable edit handles when selected.
Wall tool (W)
Click to place the start point, then click again to finish the segment. Walls snap to 15° angles — hold the mouse over the canvas to see live length and angle.
Room tool (R)
Drag a rectangle to create a room. Set its color, opacity and wall height in the properties. Room area is counted in the header total.
Door tool (D)
Click directly on a wall to place a door with swing animation in 3D. Adjust width and swing direction via properties or R rotation.
Window tool (N)
Click on a wall to place a window. Set sill height so it sits correctly in the 3D wall.
Measure tool (M)
Click two points to display a live measurement with units. Temporary guides are drawn in cyan.
#Furniture Library
The panel on the right lists every furniture type. Drag an item onto the canvas or click it and place it with a click. Every item is fully resizable and recolourable.
| Category | Available items |
|---|---|
| Seating | Sofa (2 & 3 seat), armchair, office chair, dining chairs |
| Tables | Coffee table, dining table (4 & 6 seats), counter |
| Sleeping | Queen bed, single bed, nightstand, wardrobe, dresser |
| Storage & Media | Bookshelf, TV stand |
| Kitchen & Bath | Kitchen counter, sink, bathtub, shower tray, toilet |
| Structure | Column, stairs, straight wall, room |
#Custom Objects (Object Builder)
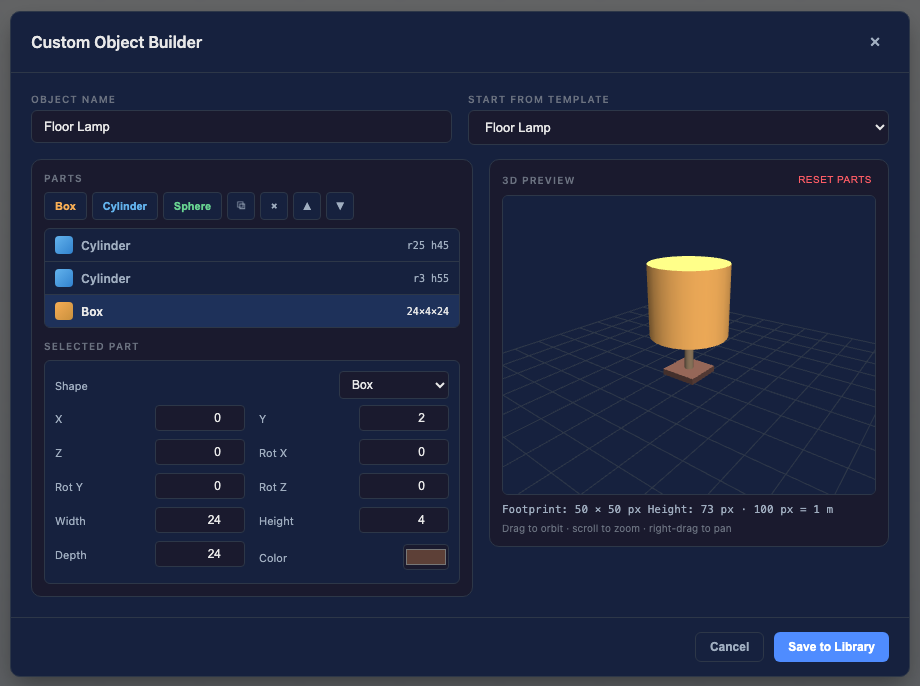
Besides the built-in furniture, you can design your own 3D objects by composing simple primitives — boxes, cylinders and spheres — each with its own size, position, rotation and color. A live 3D preview updates as you edit so you always see exactly what you are building.
How it works
- In the right-hand Furniture Library panel click + New Custom Object.
- Use Start from template to load a Table, Floor Lamp, Potted Plant or Lounge Chair, or build from scratch.
- Add parts with the Box / Cylinder / Sphere buttons. Click a part in the list to select it, then edit its X / Y / Z offsets, rotations and color.
- Use ⧉ (duplicate), × (delete), ▲ / ▼ (reorder) buttons next to the tools.
- Orbit the preview (drag), zoom (scroll) and inspect the design from every angle.
- Give it a name and click Save to Library.
- The object appears under My Custom Objects. Click it (or drag it) onto the canvas, then check it in the 3D view.
Part coordinate system
Parts are positioned in object-local space: X runs along the footprint width,
Y is height measured from the floor (0 = ground), and Z runs along the
footprint depth. Rotations are in degrees around the part's own centre.
#Properties Panel
Selecting any element opens its properties on the right side:
- Color — picker for walls, rooms, floors and furniture materials.
- Dimensions — width, depth/length, height and thickness in px (100 px = 1 m).
- Rotation — fine control in degrees.
- Special values — wall height, window sill height, room opacity, stair step count.
- Delete — remove the selected element.
#3D Navigation
Switch to the 3D view with the 3D button in the header. The scene rebuilds automatically from your plan — walls gain height, rooms become floors, and furniture is rendered as styled 3D meshes with real rotation.
| Action | Mouse / Touch |
|---|---|
| Orbit camera | Left mouse drag / single touch drag |
| Pan | Right mouse drag or two-finger drag |
| Zoom | Mouse wheel / pinch |
| Auto-fit plan | Clicks into 3D automatically frames the whole plan once |
&cam=120) to change the default viewing angle.
#Import / Export
The Export menu offers four formats:
| Format | Description |
|---|---|
| PNG (plan) | Rasterized 2D plan at 3× resolution for sharp prints. |
| SVG | Scalable vector plan — print and edit in any vector tool. |
| PNG (3D) | WebGL screenshot of the current 3D camera. |
| JSON project | Full project file with all elements. Re-open with the Import menu item. |
Import a previously exported .json project from the File → Import dialog.
#Keyboard Shortcuts
| Key | Action |
|---|---|
| V | Select tool |
| W | Wall tool |
| R | Room tool |
| D | Door tool |
| N | Window tool |
| M | Measure tool |
| Arrow keys | Nudge selected element |
| [ / ] | Rotate selected element −/+ 15° |
| Delete | Delete selected element |
| Ctrl/Cmd + Z | Undo |
| Ctrl/Cmd + Y / Shift+Z | Redo |
| Ctrl/Cmd + C | Copy selected |
| Ctrl/Cmd + V | Paste |
| Ctrl/Cmd + X | Cut selected |
#URL Parameters
| Parameter | Values | Effect |
|---|---|---|
?demo= | house / office / apartment | Loads a ready-made sample design |
&view= | 2d / 3d | Starts in the given view |
&cam= | degrees (e.g. 150) | Rotates the 3D camera azimuth on load |
#Customization & Extending
Theme colors
The entire UI is styled by CSS custom properties in css/styles.css. Change
--bg, --accent and friends to rebrand instantly.
Adding a furniture item
Open js/elements.js and add an entry to FURNITURE_DEFS. Provide the
code that builds the 2D thumbnail handled by editor2d, and a matching builder in
editor3d.js that returns a THREE.Group. Each definition supports
name, w, d, h, color.
{
  name: "My Couch",
  type: "my_couch",
  w: 180, d: 90, h: 80,
  color: "#ef9e4f",
  category: "seating"
}
Default scene
The demo scenes are functions in js/app.js (_sceneHouse,
_sceneOffice, _sceneApartment). Edit them or add new ones and
register the id in the AppScenes map.
Scale
The app works in px where 100 px = 1 m. Area and measurement readouts already convert to m² / m automatically.
#Browser Support
- Google Chrome & Chromium (recommended)
- Microsoft Edge
- Mozilla Firefox
- Apple Safari 14.1+
- Opera & other Chromium-based browsers
WebGL & 3D compatibility
The 3D view requires WebGL (hardware or software accelerated). If WebGL is unavailable the 3D tab shows a friendly warning and the 2D editor keeps working — the failure is isolated and never freezes the whole application.
Browsers without WebGL: enable it under settings, update the browser, or check that the
GPU / driver is not blocked by an enterprise policy. In Firefox check
about:support → “WebGL”. In Chrome check chrome://gpu.
Hardware acceleration should be left on — if it is disabled, 3D performance drops and rendering may fall back to the software rasterizer (still functional, but slower).
Testing was performed under headless Chromium (WebGL via SwiftShader) — all built-in smoke tests pass.
#Troubleshooting & FAQ
Common setup errors
“Blank page” or missing toolbar after install
Cause: the page was opened directly from the zip via file://, or the
js/ folder was renamed / partially uploaded.
Fix: fully unzip the package, keep the css, js and
index.html files together, then serve the folder over HTTP:
python3 -m http.server 8080 (or npx serve .) and open
http://localhost:8080.
“3D view is unavailable” message
Cause: the bundled Three.js library did not load or WebGL is not available in the browser (hardware acceleration off, blocked GPU, or very old browser).
Fix: check that js/vendor/three.min.js and
js/vendor/OrbitControls.js were uploaded next to the other scripts, enable
hardware acceleration, update the browser, or test in another browser. The 2D editor keeps
working regardless.
Saves don’t persist after reload
Cause: the auto-save key floor-planner-last was cleared, private/incognito
mode, or the page is opened via file:// in a browser that blocks localStorage
for local files.
Fix: serve over HTTP instead of file://, and use a normal browsing window.
Always export a JSON backup (Export → Save as JSON) if you switch browsers or clear data.
Files won’t download (Export does nothing)
Cause: a pop-up blocker, browser download policy, or file:// access.
Fix: allow downloads for the site, retry from an HTTP URL
(http://localhost:8080), and try each export format individually. If JSON export
works but images don’t, check that the canvas/WebGL contexts are rendering (see the developer
console).
Canvas / 3D appears stretched or squeezed
Fix: press the browser zoom reset (Ctrl/Cmd+0) and refresh. The renderer auto-sizes on window resize and when switching views.
Resetting your project (clearing browser storage)
The application auto-saves your design to the browser’s localStorage under the key
floor-planner-last every 5 seconds and restores it on reload. To start from a blank
project, clear that saved state:
- Open the app, press F12 (or Cmd+Alt+I on Mac) to open DevTools.
- Go to the Application panel → localStorage (Chrome/Edge) or the Storage tab (Firefox).
- Click
http://localhost:8080(or your host) in the left list. - Delete the entry named
floor-planner-last(right-click → Delete, or click it then press the 🗑 Delete button). - Reload the page — the canvas is now empty. Alternatively, press Ctrl/Cmd+Shift+R after deleting, or use Clear site data to remove all data for the site.
localStorage.removeItem('floor-planner-last'); location.reload();
FAQ
Do I need a database or backend?
No. Everything runs in the browser — no PHP, MySQL or build tools.
Does the app need internet?
No. Three.js and OrbitControls are bundled in js/vendor/, so the app works fully
offline from the moment you open it. Internet is only needed if you host the live demo
yourself.
Can I convert / edit the exported SVG?
Yes — the SVG is a plain vector file you can open in Illustrator, Inkscape or any vector editor.
Can I change the unit scale?
The editor works in px where 100 px = 1 m. Area and length readouts convert to m² / m automatically. See Customization & Extending.
My 3D view is slow — what can I do?
Reduce the browser window size (the renderer matches the canvas), enable hardware acceleration, and avoid overly dense custom objects. You can hide the ground grid with the Grid toggle.
#Credits
| 3D Rendering | Three.js r128 (MIT license, bundled in js/vendor/) |
| Icons | Emoji glyphs & inline SVG |
| Fonts | System font stack |